Integration with Express
This guide shows you how to integrate AuthRocket with your Express app by using LoginRocket. It should also be usable with other frameworks that use Express-compatible middleware.
You need to have already created a Realm for your app. If that’s not done yet, do that now or see Your first realm.
Install the authrocket-middleware npm
Use npm or yarn to add AuthRocket to your project:
npm install @authrocket/authrocket-middleware
yarn add @authrocket/authrocket-middleware
Get your LoginRocket credentials
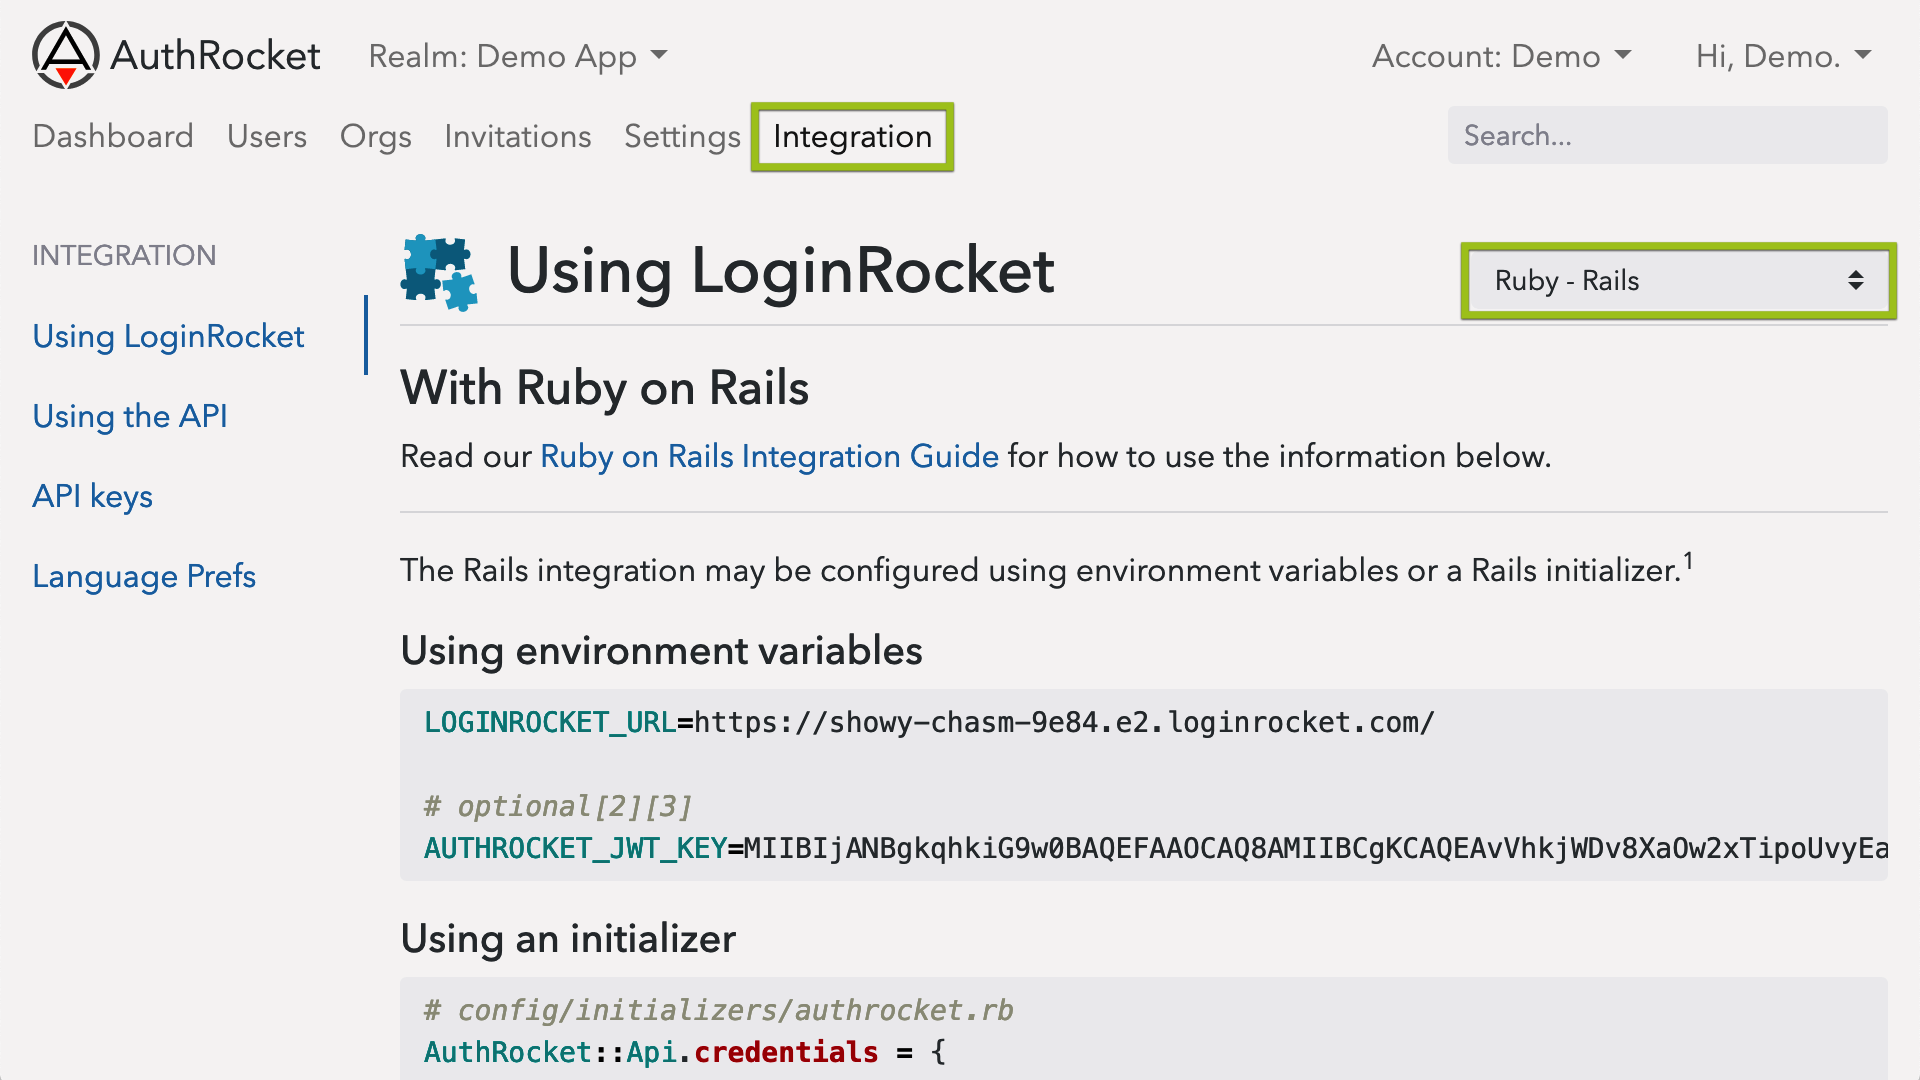
In the AuthRocket management portal, go to Realm -> Integration -> Using LoginRocket, and then select Node.js - Express.
Keep this page open—you’ll need the information here in the next step.
Configuring the npm
Add the middleware to your app (most commonly app.js).
Start by adding this near the top with the rest of your require() statements:
const { arMiddleware, cookieParser, fullLogout, requireLogin } = require('@authrocket/authrocket-middleware')Then enable the cookieParser middleware. This can go anywhere in your middleware list as long as it’s before arMiddleware:
app.use(cookieParser())Also add a logout route. This can be placed with the rest of your routes (at the beginning is fine):
app.use('/logout', fullLogout)Using environment variables
If you use environment variables to configure your app (Heroku, Foreman, Kubernetes, etc), just set the following:
LOGINROCKET_URL=https://YOUR-URL.e2.loginrocket.com/Then add this to the end of your middleware list, before your routes:
app.use(arMiddleware())Using direct configuration
Instead of environment variables, you may also configure the client directly. Since your LoginRocket URL is public anyway, it’s perfectly safe to commit this to your git repos.
Initialize the client like so:
app.use(arMiddleware({
  authrocket: {
    loginrocketUrl: 'https://SAMPLE.e2.loginrocket.com/'
  }
}))
Protecting your app
The next step is to add requireLogin to all routes or sub-routers that should require a login.
Protect the entire app
Add requireLogin as another middleware. Make sure it’s after arMiddleware:
// app.js
app.use(requireLogin)
Protect an entire sub-router
A common pattern is to group a set of routes into a sub-router.
For example, app.js might have something like this:
app.use('/admin', adminRouter)Then in admin.js, add this:
// after other require() statements and before any router.XYZ(...) statements:
const { requireLogin } = require('@authrocket/authrocket-middleware')
router.use(requireLogin)

// ...router.get('/', ...)
Protect individual routes
Add requireLogin to individual routes:
app.get('/protected',
  requireLogin, // this is what you're actually adding
  function(req, res, next) {
    // normal route behavior here, eg:
    res.render('protected')
  }
)
This works the same for sub-routes (router.get(...)) too.
Helpers
authrocket-middleware includes a number of useful helpers too.
In your routes, helpers are accessed using req.authrocket (eg: req.authrocket.currentOrg). In your views, they are accessed directly as authrocket (eg: authrocket.currentOrg). Examples below will use the shorter version, but the same set of helpers is available in both places.
Links
It’s common to add links like Login, Signup, Logout, and Manage Profile.
authrocket.arLoginUrl()     // Login
authrocket.arSignupUrl()    // Signup
'/logout'                   // Logout (this matches the route we created above)
authrocket.arProfileUrl()   // Manage profile
It’s also possible to return the user to the previous page after managing their profile.
authrocket.arProfileUrl({redirect_uri: authrocket.requestUri()}))authrocket.requestUri() returns a fully-formatted copy of the current page’s URL, which is particularly useful when wanted to redirect back to the same page.
If using LoginRocket’s multi-user account mode, these may also be helpful:
authrocket.arAccountUrl()   // Manage current account
authrocket.arAccountsUrl()  // Switch accounts
These also support redirect_uri: just like arProfileUrl().
Current user and account
Access the current session and user:
authrocket.currentSession

authrocket.currentUser
authrocket.currentUser.first_name
// => "Dave"
Access the current account (org) and permissions:
// the primary account record is the 'org':
authrocket.currentOrg
authrocket.currentOrg.id  // account id
authrocket.currentOrg.name  // account name
// => "Widgets, Inc."

// permissions are part of the membership:
authrocket.currentMembership
authrocket.currentMembership.permissions
// => ["forum:moderator"]
In multi-user account mode, when the user switches accounts (use arAccountsUrl above), currentOrg and currentMembership will automatically update to reflect the currently selected account.
Example
Here’s an example nav using pug/jade that demonstrates some of the helpers above:
body
  nav
    if authrocket.currentUser
      span Hi, #{authrocket.currentUser.name}!
      a(href=authrocket.arProfileUrl({redirect_uri: authrocket.requestUri()})) Manage Profile
      a(href='/logout') Logout
    else
      a(href=authrocket.arSignupUrl()) Signup
      a(href=authrocket.arLoginUrl()) Login
Logins, Permissions, and Accounts
Logins only
Sometimes the above is all you need. If a login is only required for an admin area and you don’t need permissions, just having a valid login may be sufficient.
Logins + permissions
For many more apps, checking permissions is enough. For example:
// admin.js (a sub-router)

// start by requiring a login first
const { requireLogin } = require('@authrocket/authrocket-middleware')
router.use(requireLogin)

// then require a specific permission
router.use(function(req, res, next) {
  if (req.authrocket.currentMembership.permissions.includes('site:admin')) {
    next()
  } else {
    res.status(403).send('Forbidden')
  }
})
Connecting to your app’s data
Other times an app has its own concept of an account. In this case, use AuthRocket’s account/org ID as a reference against your app’s own database.
For example, if you’ve created a local Account model that’s persisted to your app’s database, add a string column called ar_org_id. Then your route or controller might query it with something similar to this:
Account.find({ar_org_id: req.currentOrg.id})
  .exec(function (err, results) {
    if (err) { return next(err) }
    // success
    res.render(...)
  })
Depending on your app, this might be a Project, Service, or anything else that represents the base instance of whatever your app does.
What’s next
After getting a basic integration, you may want to enable social login, 2FA, email verification, or other features. The good news is no extra code is required—nearly everything is configured directly within AuthRocket.
If you’re stuck, let us know how we can help.