Integration with Ruby
This guide shows you how to integrate AuthRocket with your Ruby app by using LoginRocket. If you’re using Rails, you might prefer our Rails integration.
You need to have already created a Realm for your app. If that’s not done yet, do that now or see Your first realm.
Install the authrocket gem
Start by adding the gem to your Gemfile.
gem 'authrocket', '~> 3.0'Then run bundle.
Get your LoginRocket credentials
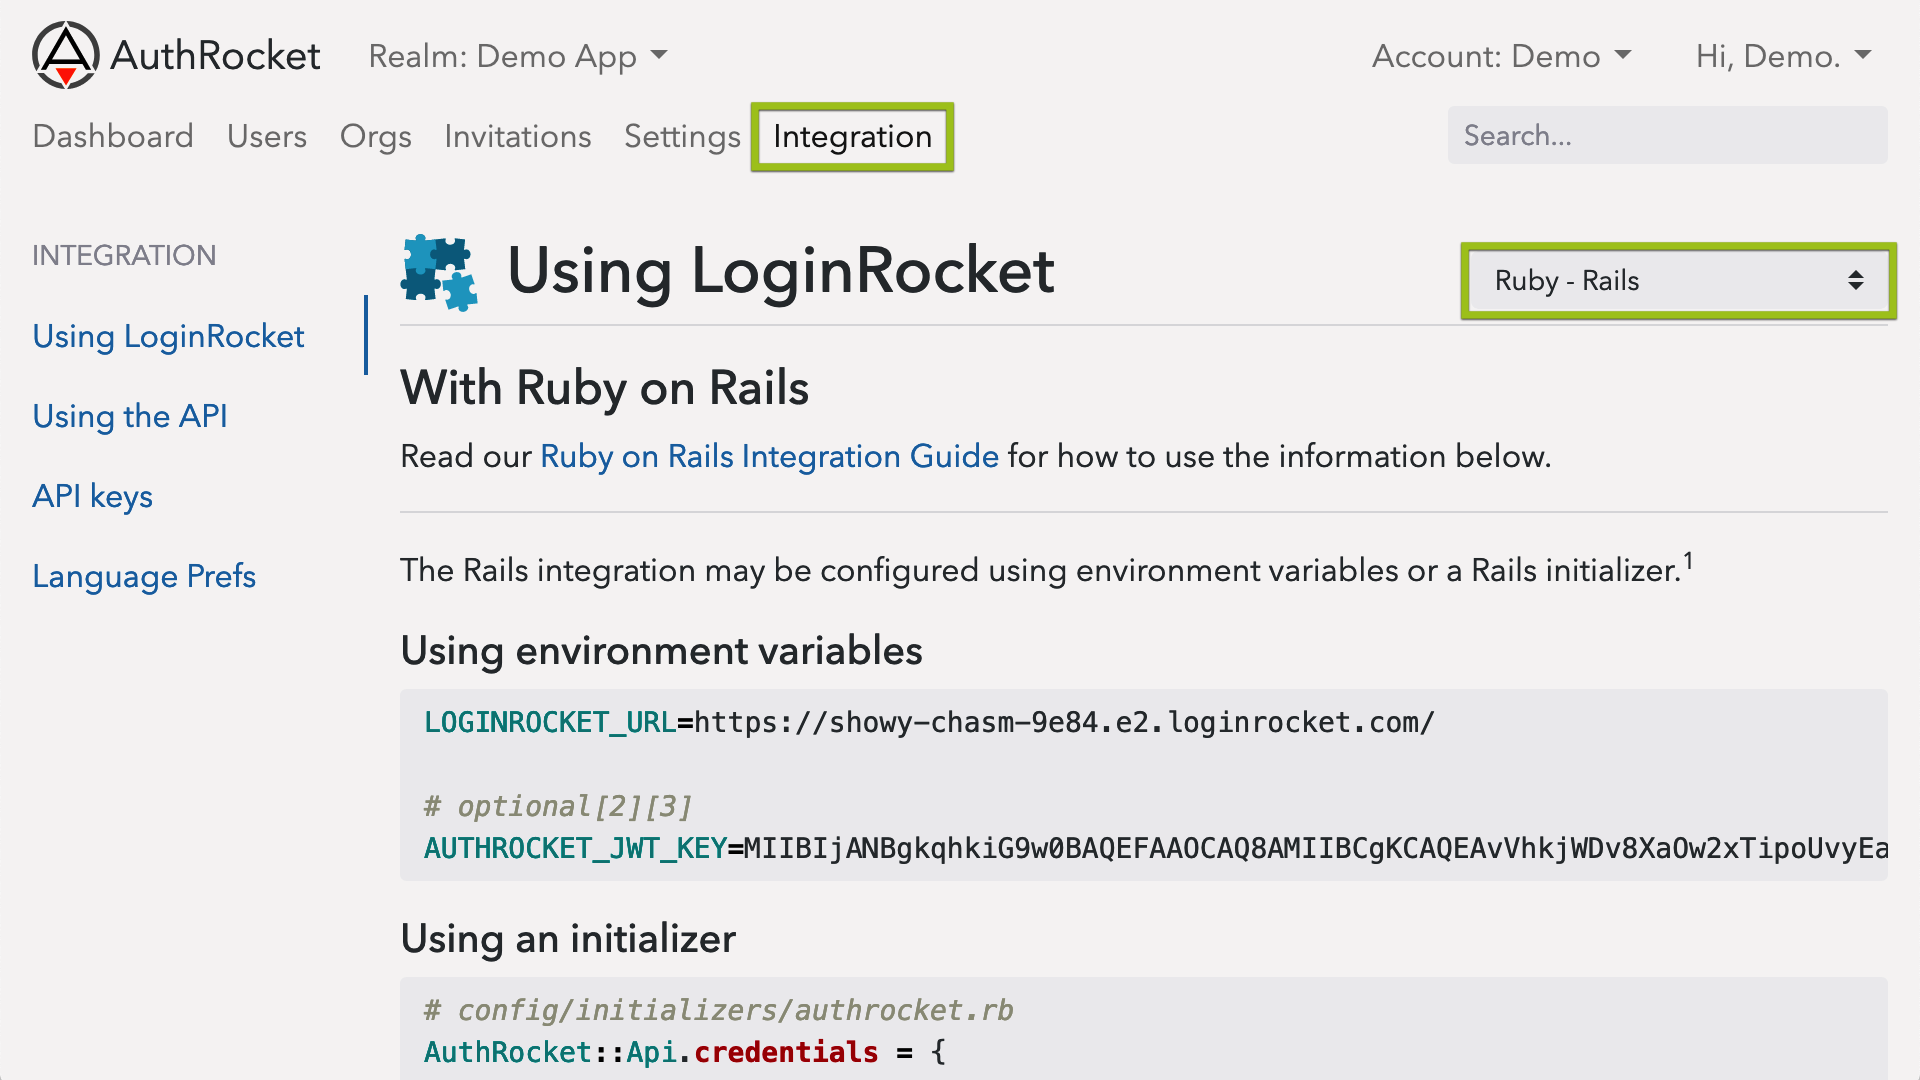
In the AuthRocket management portal, go to Realm -> Integration -> Using LoginRocket, and then select Ruby - Other framework.
Keep this page open—you’ll need the information here in the next step.
Configuring the gem
Using environment variables
If you use environment variables to configure your app (Heroku, Foreman, Kubernetes, etc), just set the following:
LOGINROCKET_URL=https://YOUR-URL.e2.loginrocket.com/If using foreman for development, simply add the above to your .env.
Using direct configuration
Instead of environment variables, you may also configure the authrocket gem directly. Since your LoginRocket URL is public anyway, it’s perfectly safe to commit this to your git repos.
Configure the gem like so:
AuthRocket::Api.credentials = {
  loginrocket_url: 'https://YOUR-URL.e2.loginrocket.com/'
}Login tokens
LoginRocket will send login tokens to your app using the parameter ?token=[the-token].
Use the Session class to decode these tokens. Tokens are automatically verified for integrity and expiration and nil is returned if not valid.
if session = AuthRocket::Session.from_token('the-token')
  # token is valid
else
  # token is invalid, expired, or missing
  # likely redirect back to "#{ENV['LOGINROCKET_URL']}login"
end
The returned Session contains nested User, Membership, and Org (account) objects.
session
# => Session object
# Includes fields like expires_at

session.user
# => User object
# Includes fields like first_name, last_name, email

session.user.memberships
# => Array of Membership objects
#    Tokens issued by LoginRocket always have exactly 1 Membership
#    Tokens issued by the API may have 0+ Memberships (advanced usage)
# Includes fields like permissions

session.user.memberships[0].org
# => Org object ... aka an 'account'
# Includes fields like name
We recommend saving the token in a session or cookie and then decoding it with from_token() on each page load, perhaps in some kind of middleware or before-action method. Alternatively, you could extract and save only the fields needed.
Default Login URL
When a user successfully performs a login or signup (or returns to your app after managing their profile or account), they are redirected back to your app.
By default, users are redirected back to the Default Login URL which can be configured at Realm -> Settings -> Connected Apps.
If users should always arrive at your app (post-login) at the same URL (eg: /login or /manage), the Default Login URL is all you need to configure.
If you want users to be able to arrive at multiple URLs, you’ll want to use LoginRocket’s redirect_uri param.
LoginRocket URLs / redirects
LoginRocket supports a number of URLs for getting back and forth to your app.
At the very least, you’ll likely want to redirect to LoginRocket upon any not-logged-in scenario. You may also want to add links for Signup, Manage Profile, etc.
See LoginRocket URLs and parameters for details.
What’s next
After getting a basic integration, you may want to enable social login, 2FA, email verification, or other features. The good news is no extra code is required—nearly everything is configured directly within AuthRocket.
If you’re stuck, let us know how we can help.